Distractions Everywhere!
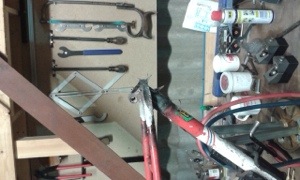
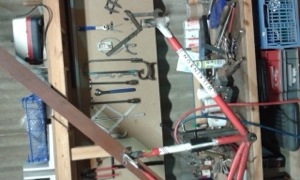
Posted: March 2, 2016 Filed under: Uncategorized | Tags: Balance bike, Brazing, brazing training, fabrication, frame building, framebuilding, how to make a balance bike, tube mitering, tube mitring, Wilkinson Cycles 4 CommentsHello again folks, excuses excuses. Last time it was a baby, this time it’s a new house keeping me out of the workshop. And a real fixer-upper at that:

I hope that skip comes soon..
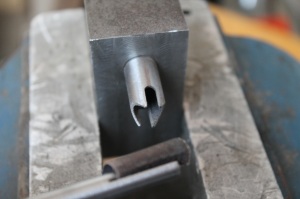
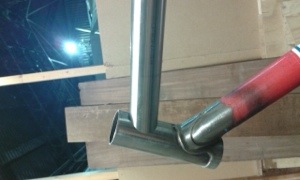
I have made it into the workshop a little though. In response to customer enquiries the other week I made some trial cuts with titanium tubing with the Torch & File precision mitre cutters with outstanding results:

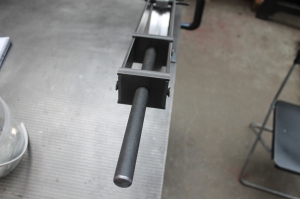
Thicker than bike tubing but I found this going cheap.

Dial in the RPM.

Minimum overhang from the collet block.

Lovely clean precision cut.
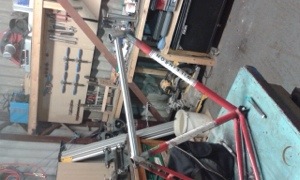
Also, Brompton Bicycle kindly let me use some of their folding bike tubes to make my son Tom a balance bike. I called it the “Brom Tom”. It made Tom’s first Christmas present a lot of fun.
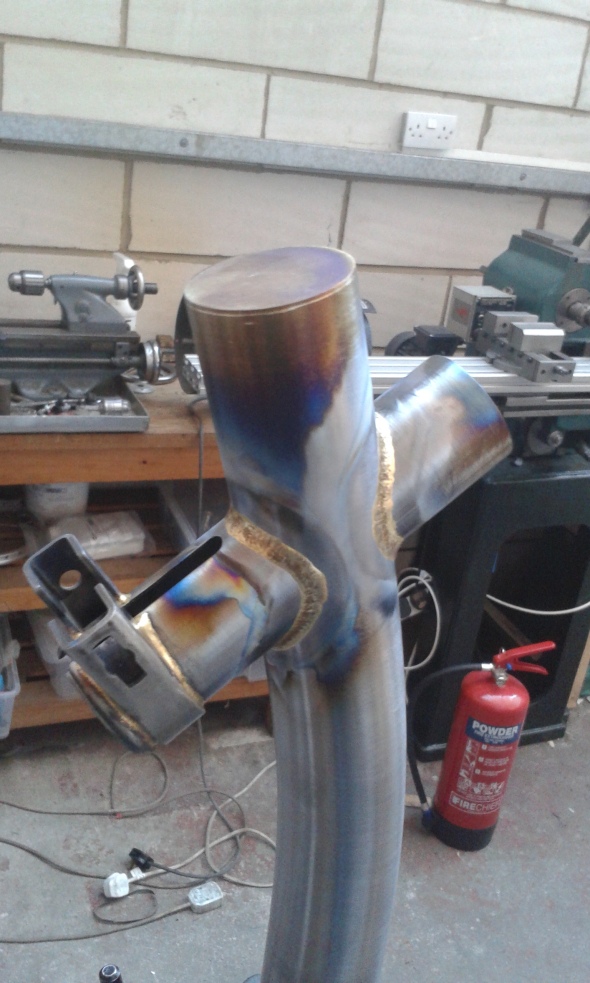
Had to do this jigless with all the tricks I could think of.
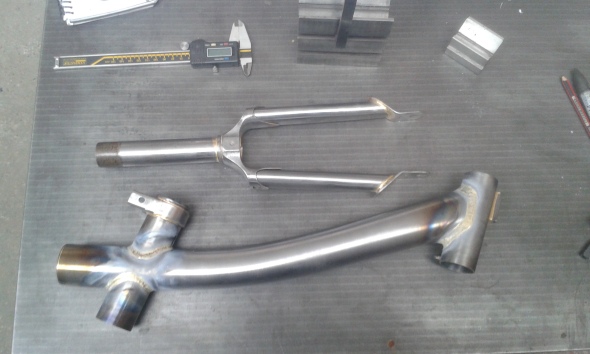
My lucky boy got a pair of Reynolds 631 fork blades to fit the necessary wider crown.

I used the wheels, saddle and handlebar grips from a popular balance bike. It also gave me a rough idea of suitable geometry. Although, my upside-down curved main tube gives much more standover clearance and the sawn-off Brompton seat post is hella rigid!
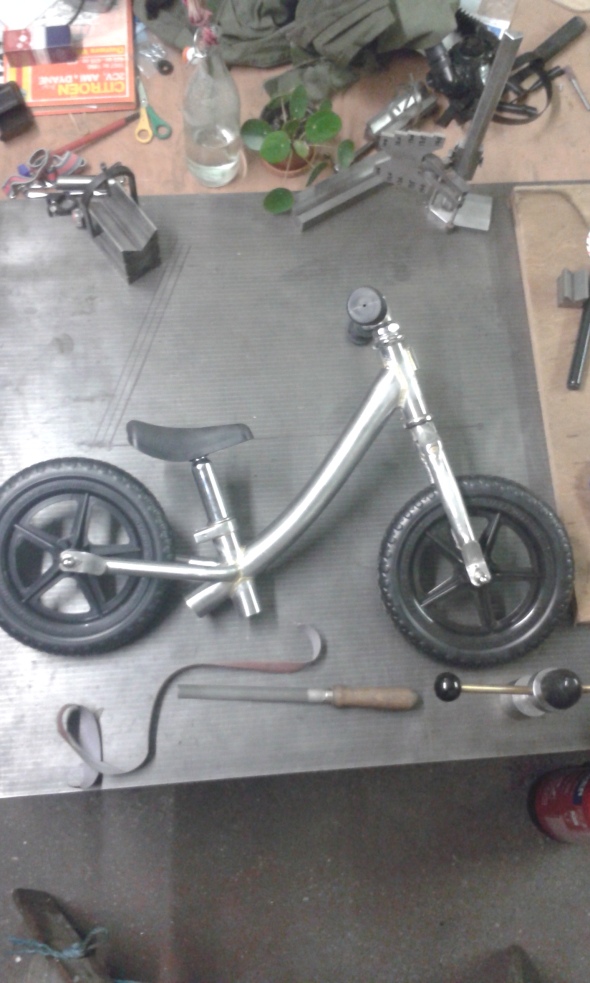
I had fun making it although the extra ovalising and improvisational fixturing made it more difficult than I imagined. If I make more I’m jigging-up bigtime!

Of, course, it had to match the colour scheme of my Brompton folding bike!
Blog post filler alert!!
A few years back my then girlfriend asked me if I could fabricate an illuminated sign for a music and arts festival in steel box section. It had to be 4 metres high and break down into 3 pieces to fit into a Luton van. “Sure, no problem”. This was the first thing I had ever welded so I had to buy a cheap arc welder for the job. The sign was used for 4 consecutive years now so I can’t have done that bad a job and the girl is now my wife. Phew!

First welding job.

I miss my wife’s old workshop in Bermondsey. Now posh apartments!

I don’t only do rear triangles y’know! Looks like I got away with it!

Look, it didn’t break!
My wife Saga also recently designed a light installation for a house refurbishment in East London that she project managed. It was made from stainless steel tubing with thick copper and brass rings and tubes brazed on. I turned and drilled these parts on the lathe from round bar. The stainless tubing was fillet brazed with Fillet Pro silver and suspended from the ceiling half way along by bicycle chain to reflect the client’s passion for cycling. My mobile phone photography doesn’t do it justice, honest!

It looked nice in the kitchen.

Sorry I only had my phone to hand to take the pictures.
In between house renovations and moving to the new Brompton factory in Greenford, I’ve also started giving brazing lessons. My first student Tom cycled from Bracknell to Tottenham Hale and home again in a raining gale. Massive respect Tom! Well done for learning fast and doing some nice neat braze-ons and fillets. I think I learned a lot too!
That’s all for now folks. Bikes. Must make bikes. A little inspired by walking to the Bicycle Revolution exhibition at the Design Museum earlier today..
Progress..
Posted: May 29, 2015 Filed under: Uncategorized 2 CommentsWhen I saw these dropouts on the Reynolds stand at Bespoked I knew that I had to share the pictures. They’re laser sintered titanium semi-hollow dropouts. Extremely lightweight and they look very strong. Reynolds are also talking about making steel dropouts in the same way.
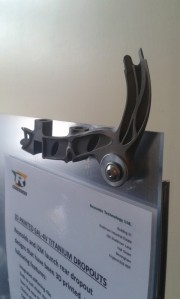
Laser sintered titanium disc mount dropouts with internal strengthening ribs(this is a cross section). Pretty far out!
On a less-futuristic note, there’s been some more activity at my workshop. My in-house-made fork bender worked well. I also had to turn down the fork crown race seat in the lathe so that I could fit the headset crown race. Plus, to make my setup more professional I’m building up a custom horizontal mill for tube mitring with a Variable Frequency Drive to give me adjustable speed control within a window of reasonable torque.
Here’s how I got on:

I had to cut the crown race seat to fit the headset crown race. I did this in the big lathe in the machine shop. This Italian lathe has a double-vee bed, taper turning and high-speed reverse.

I had to be sure that both fork blades were the same length when they were pushed fully home into the crown sockets.
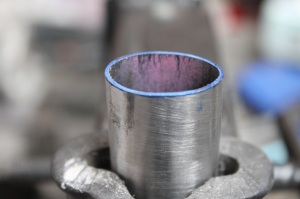
I marked a thin line to shave off with a file around the top of the blade. When the line is just invisible everywhere I stop filing.

This time I used my ever-evolving home made fork jig, but I now have all the parts to make a more permanent version in metal with built-in rulers/scales/graduations/thingies.

After brazing – a soak in the water tank and a quick sand it started to look like a fork. I will sand it up some more.
To get my tube mitring mill up and running I decided to go for a variable frequency drive/inverter package from Transwave. No more belt changing, especially given my fairly narrow speed requirements for tube cutting.

This is the package I bought from Transwave. The 3 phase motor is very small but kicks out 3/4 hp. It even has a large fan built into the back.

The inverter with the cover back on. I have 3 phase power in the workshop but I decided that this single-phase to 3 phase inverter was cheap, sufficient and more flexible.
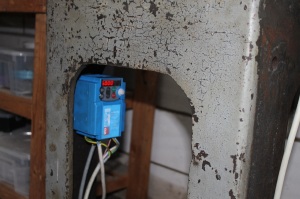
I bolted the inverter/VFD inside the old cast iron flypress stand. Out of the way. Think I’ll paint this grubby old stand up.

Here you can see the mill setup with the remote unit bolted to it. It has start, stop, forward, reverse and jog (inch) functions. The bottom knob is the motor speed control. The motor can be seen behind and will have a slotted plate to slide laterally to enable belt tensioning. Needless to say, that’s a Torch and File mitre cutter in the collet.
I have to make a drawbar to lock the ER32 collet into the mill spindle.

A sketch for a drawbar to fit my little horizontal mill. I’m going to make it on my trusty little Myford ML7 lathe.

Makin’ swarf on my 1957 lathe, “Peggy-Sue”. I totally rebuilt this old girl and she does come in handy for smaller work.

Bish bash bosh.
John advised me to leave loads of material on the hex end for when the threads wear out. Then I can just chop off that bit and cut some more thread. Now if I can find that die I’ll be in business..
I’ve ordered a self-centring vice and a length of extruded aluminium profile for the tube mitring fixture. John already has a suitably sized rotary table he has kindly offered to lend to the cause.
I’ll make another post when the machine and fixture is up and running.
Bye for now.
Matt
Wilkinson Cycles Global HQ
Posted: April 30, 2015 Filed under: Uncategorized | Tags: bike frame storage, bike workshop, brass brazing, Brazing, butt gauge, butted tubing, cast iron surface table, dropout, fork bender, fork blade bender, fork end, frame building, frame jig, framebuilding, gas fluxer 4 CommentsHello again, I’m sorry I haven’t posted anything for a while but I’ve been busy doing stuff like this at my new workshop:
He should come in handy for those menial tasks..

Putting a horizontal mill together on top of a cast flypress stand. I’ll put a variable speed motor on it for tube mitring.

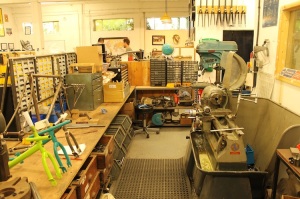
I cut all these tool slots on the Bridgeport mill out the back. We have a full machine shop on site.
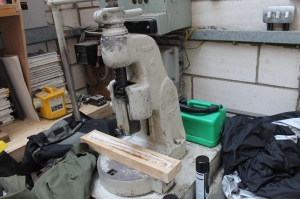
I bought a number 4 flypress on a stand. I want to use this to form chainstay dimples, among other things.

I’ve now got the first increased-offset Sputnik Tool frame jig. I had to get the Park workstand base to attach it to my home-made stand.

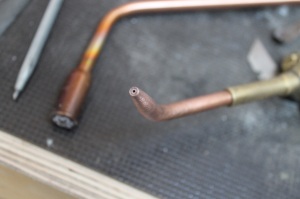
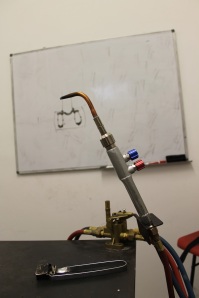
I improved my gas economiser. Now my torch can’t rotate. I wish it was cordless as it appears to be here, but I just swapped it out for my bigger one to braze the fork crown.

My good friend John made this fork blade bender. The form goes from a 5″ radius to a 15″ radius. This was all made on a manual Bridgeport mill. The most I did was a bit of deburring and helping to lift the huge rotary table.

I had this “christmas tree” alignment gauge waterjet cut from stainless steel. It makes aligning a frame very easy. You zero the V onto the seat tube to check that the dropouts are centred and spaced correctly. I used London Waterjet’s finest cut.

I found this old suspension bump stop on the road. I drilled a hole in it so it now makes the post a bit safer in case I slip and put it through my arm.
Rick’s fork will be my first use of my new bender..

Preparing the fork blades for brazing. I used an end mill to slot the blades in the Bridgeport. A radius is less prone to forming cracks so I file the fork ends to fit.

This is the Paris Brest fork crown after brazing onto the steerer and a soak in the water tank. I gave it a little sanding and filing. It’ll get more love after the fork is made.
Stay tuned for my next post for bender performance, laser-sintered titanium dropouts and more!
How to Move a Surface Plate..(up some steps)..
Posted: September 19, 2014 Filed under: Uncategorized | Tags: Brazing, crane, frame building, how to move a surface plate, surface plate, surface table Leave a commentSo after I’d finally bagged myself a large workshop in a factory nearer to my home, a few weeks back I needed to move my cast iron surface plate off the island on the River Thames, which involved negotiating 17 steps up onto the footbridge that leads to the road.
This time I knew how to do it.
I’d need:
A “Euro 3” sized pallet
Some OSB to strengthen the pallet for winching
Some timber offcuts to screw into the pallet around the plate to prevent it from sliding
Some pieces of wood to stand the pallet on (I’ll explain)
4 Ratchet straps
2 Lifting slings
An engine hoist (Ebay bargain)
A pallet jack (found in a skip by a friend)
A Tirfor winch with anchoring straps (borrowed from my dad’s tree surgery business)
2 sheets of plywood
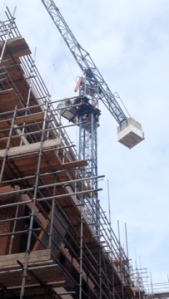
Use of the mahoosive crane in the building site over the bridge
To put the surface plate on the pallet, I had to lift it off the stand with the engine hoist and slings. The hoist is only rated up to 500kg, and I calculated that the 4ftx3ft plate is more like 650kg, with a 2 inch thick solid plate and all the strengthening cast webs and edging below that to complete the plate structure.
I hoped that the hoist makers had allowed some safety margin..
Now the hoist legs would sort of fit underneath the stand’s cross members at a certain angle, so getting it off the stand wasn’t too difficult. I was very careful not to sway the load much.
Because the hoist legs and wheels wouldn’t fit into the pallet slots, I had to put the pallet width-ways on top of the hoist legs, and then lower the plate onto it.
Next, I put the pallet jack underneath the pallet and jacked it up off the legs, after strengthening the pallet a bit by jamming some wooden blocks into the fork slots.
I now had to lower the pallet onto 4 small stacks of plywood, one under each corner. This gave me just enough room to pull out the pallet jack, and then re-insert the forks into the slots of the pallet. I could then jack it up, remove the plywood from underneath the pallet, and finally lower the pallet to the ground.
I placed the wooden cover on the plate and ratchet strapped it to the pallet. I used some wood offcuts (handy being in a woodworking shop sometimes) to screw around the plate to further secure it.
Now the fun began!
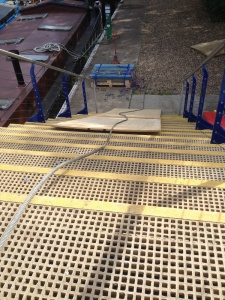
Firstly I had to protect the steps and provide a smooth ramp to drag the plate over. I moved the last sheet to the front and repeated, Stonehenge style.

It really went pretty easily. Lots of lessons were learnt when I brought it down to the island, so I knew how to do it with as little fuss as possible.

There we go, job done. The pallet jack will roll this across the bridge now with very little effort.
At the other side of the bridge, the building site crane driver did me a favour and lifted it over the fence so that the pallet courier could collect it easily and take it to the new workshop:
The new place is nearly ready for frame building work to begin. A frame jig is on order from Sputnik Tool, the gas cylinders are set up, and I’ve been making benches with lots of help from the wifey. There’s a fully equipped machine shop on site at my disposal, and John, the factory owner is giving me lots of great training in machining and toolmaking.
Bye for now,
Matt
A Trip To The Bicycle Academy
Posted: September 2, 2014 Filed under: Uncategorized 1 CommentI decided that in order to try and take my brazing to the next level, some tuition would be a good investment, and so I signed up for the Bicycle Academy’s Fillet Brazing Masterclass.
I was keen to get some one-one training from Andrew as I’d heard great things about his courses.
Being far too mean to pay for a hotel, I laid down five quid a night to stay at a local campsite, “Vallis Veg”.
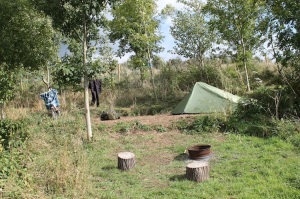
The campsite in Frome, Somerset. I was the only person there. I got a bag of firewood and made a fire in the car wheel provided. During the night a field vole came and snuffled around me.
Some might ask why I needed brazing tuition when I work as a production brazer for Brompton. My reasons were:
1. I’d never had a specialised brazing class before, as college courses I’d studied were more welding-orientated.
2. Brazing tuition at the bike factory is more of a “you’ll find your way, just practice more” approach.
3. I wanted to learn brazing in relation to more conventional bike frames, especially with regard to best practices for tacking, making smooth fillets around the whole BB cluster, etc.
4. Brazing at work to tight targets usually requires a very large flame, which isn’t always the best way to achieve the nicest fillets. Certainly not with thinner-walled tubing.
5. I wanted to take a course where someone could critique and advise me on my technique as I worked.
6. I simply don’t get time to try new techniques and experiment at work. If I try a new technique, I may not hit target, or I may have to scrap a part, or both.
Here are some of my efforts from the class:
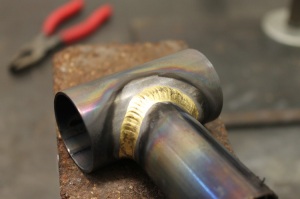
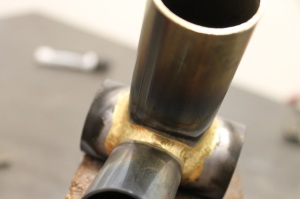
We spotted that I was bridging my fillet a bit, and we cured it there and then. Andrew has developed some techniques to get a smooth start and finish.

We covered tacking, making full fillets that can be filed easily if required, and recommended fillet throat depths.

A Gasfluxer puts flux into the acetylene so powder/paste flux is only needed where capillary joining is required.

The Academy offers cycle fit/sizing courses. Here lead weights are attached to the wheel rim of this sizing frame to more realistically simulate spin up and spin down. Resistance can also be adjusted.

This sight was familiar to me as I sanded tubes daily during my 10 months as Brompton’s Repair Brazer before I moved to production brazing.

A Sputnik Tool frame jig, like the one I’ve ordered. Except I’ve ordered more standoff on Andrew’s recommendation.

Staff and students chat by the kitchen/coffee area. I found it a really nice environment to learn in.

brazed inserts allow a 1 inch steerer to be used in a large diameter head tube. This allows for easier brazing without ovalising the downtube on the Africa bikes.

Next morning, after a coffee in the town I rode out to Longleat. I saw these hops growing wild in a hedgerow.
All in all, I felt that my visit to the Bicycle Academy was good value, interesting and fun, and I would definitely recommend the fillet brazing masterclass, not just to those with less experience, as it is bound to give a good foundation, but to more experienced brazers too. I felt like I was stuck in a bit of a rut with my brazing and wasn’t sure how to improve. I have taken tips and advice to my own brazing with very good results.
http://www.thebicycleacademy.org/
Moulton rack repair
Posted: September 2, 2014 Filed under: Uncategorized 4 CommentsI did this rack tube replacement for a local bike shop. I’m getting quite a lot of interest in frame repairs at the moment.
This is a Moulton Super Four bike. The rack tube doesn’t pierce the seat tube like on the larger models, thankfully.
A probable casualty of carrying a pillion passenger, the original main rack tube was bent down, sheared and corroded. I forgot to take a picture of the original condition, but you get the idea. It took a lot of pulling and setting of the other rack members and I also filled a few dents with brass. I had to take measurements for the pump peg locations. the rear of the tube had to be ovalised in a vice with my plywood tube ovaliser.
On the weekend shift at Brompton..
Posted: July 5, 2014 Filed under: Uncategorized 1 CommentSo I decided to move to the weekend brazing shift at the Brompton Factory. Friday, Saturday and Sunday 7-5. Now I can spend much more time on my own projects.
I was brazing in the Main Frame Final bay today. I made 109 main frame assemblies.
Also, for my own workshop, I picked up an old US-made Walker-Turner drill press. The guy who sold it to me said it was in his family for 50 years, and made in the 1940s.
It had a little surface rust, but I gave it some love..
My friend John has been giving me some good tuition in using the Bridgeport mill and the lathe.
I’ll publish another post when I’m more settled into the new place.
Integral Shank Tube Mitre Cutters available now.
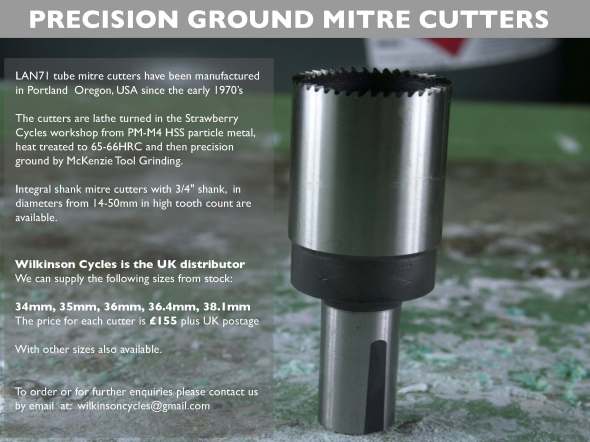
Posted: May 11, 2014 Filed under: Uncategorized Leave a commentAs some of you will have seen at Bespoked Andy Newlands‘ LAN71 tube mitre cutters have evolved and are now made with an integral turned shank for ultimate concentricity. These cutters are made from PM-M4 particle metal which is even tougher than the PM T-15 material that Andy has used until recently.
I continue to distribute the LAN71 mitre cutters, and would be pleased to hear from you with your cutter requirements.
A Visit to Reynolds Technology.
Posted: May 4, 2014 Filed under: Uncategorized | Tags: butted tubing, frame building, reynolds technology, reynolds tubing, swaging 1 CommentAndy Newlands and I went to visit the Reynolds factory in Birmingham. Andy will be distributing their tubing in the US.
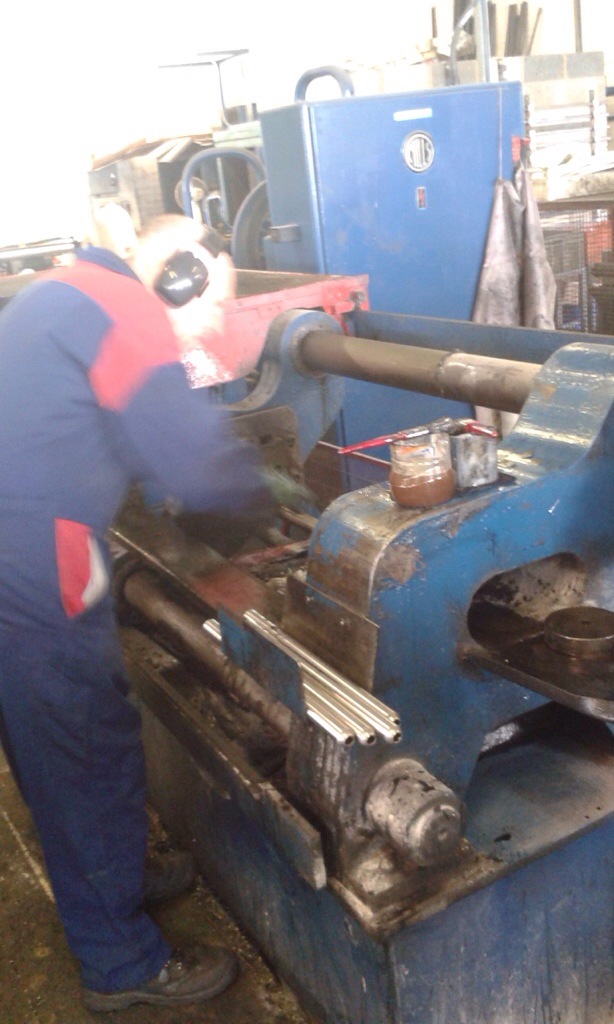
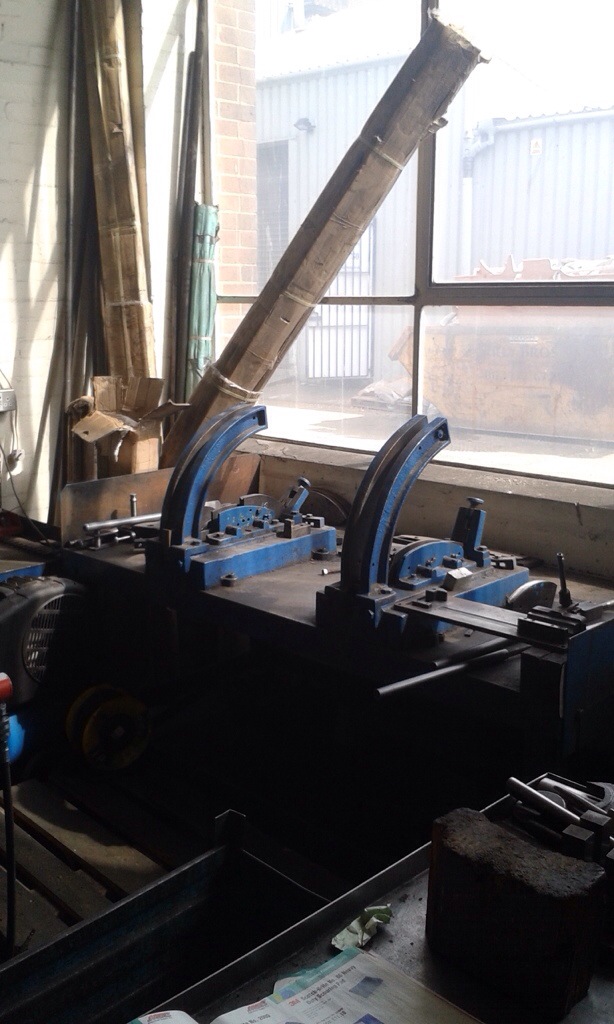
Here are some (not great) pictures that I took with my phone. My favourite machine was the reeler. It plasticly deforms the tube between two offset metal reels so that the internal butting mandrel can be pulled out.
The weirdest thing was, the whole factory smelled like Reynolds tubing!

Lots of tubing dies. Tubes are drawn through these to set the outside diameter. They have to be routinely checked and replaced if worn.
Joe’s frame comes in for a repair
Posted: May 4, 2014 Filed under: Uncategorized 1 CommentMy friend Joe called me to tell me that the messenger frame I made for him a few years ago had been vandalised. He had locked the bike to a lamp post in London’s trendy Shoreditch, and someone had smashed the top tube against the post putting a massive dent in it. I ordered a new top tube from Reynolds and cut through the old tube so that I could pull it out of the frame. Sorry for the smartphone photography!


